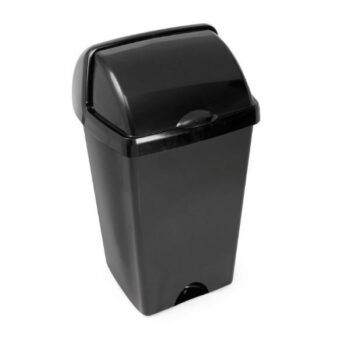
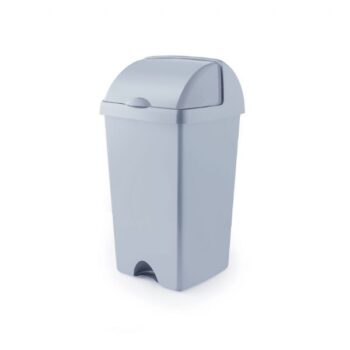
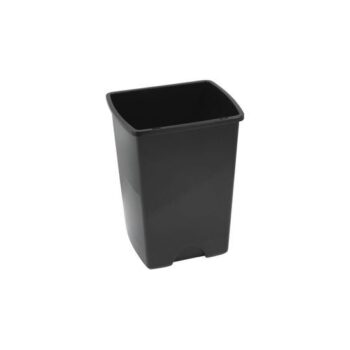
Make this the year that you really get your recycling organised by building a store for all your bins. Wheelie bins can be a bit of an eyesore in the garden, so creating a parking spot for them that makes them look much neater will improve the look of your driveway, patio or backyard. Plus, the built-in shelves add stability while providing space for tubs to store other recyclables like glass, textiles and ceramics until you get a chance to go to your local recycling centre.
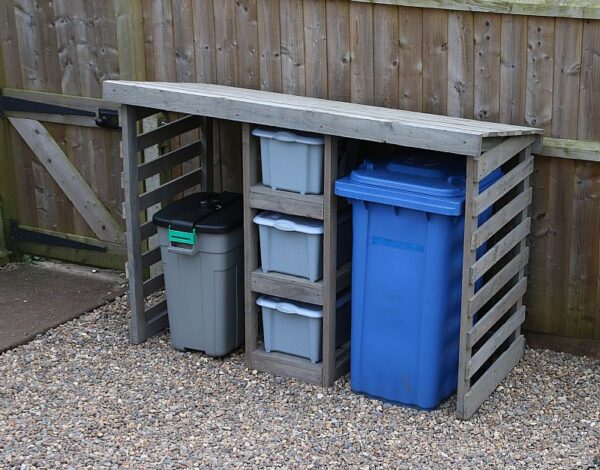
This project uses waste materials from old brick pallets to build the structure of the bin store. All you need are a few screws, a pot of garden paint and some storage tubs. Simply clear a flat, level space for the bin store (on decking, gravel, paving or tarmac drive) and measure the size of your bins before you start. Creating this bin store will make recycling easier and your garden look much tidier.
YOU WILL NEED
Brick pallets
Wood screws
Drill with screwdriver
Saw
Wrecking bar
Hammer
Outdoor wood treatment paint
Metal brackets
STEP 1
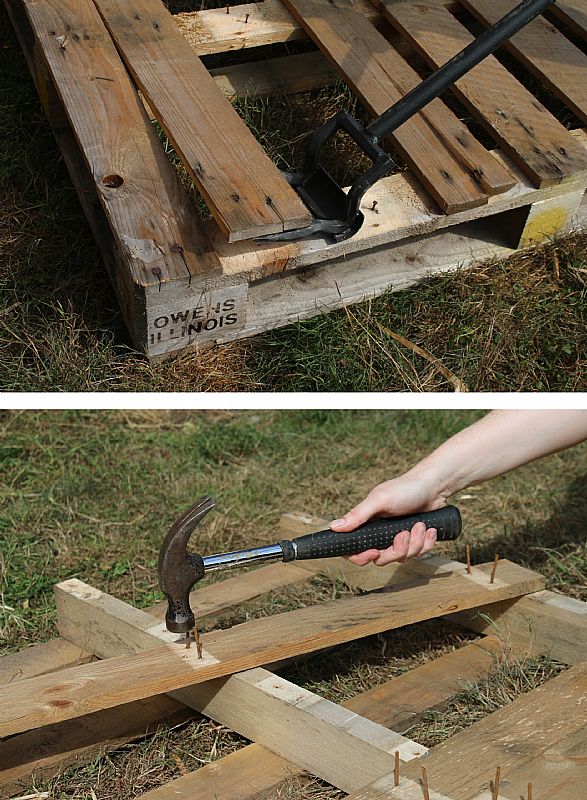
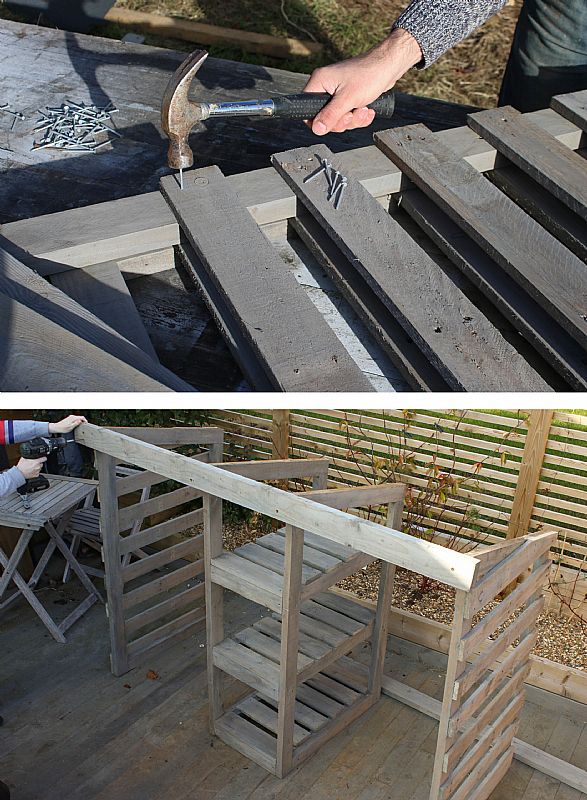
Carefully take apart four or so brick pallets using a wrecking bar and knock out the screws with a hammer. Brick pallets are a larger size than regular pallets and have solid 7cm x 3cm ‘beams’ that support the planks, rather than small blocks of wood. These beams provide the length of wood we need to build the frame of the recycling bin store. If you can only get hold of regular pallets, you can use the planks to clad the store but you will need extra wood for the frame.
STEP 2
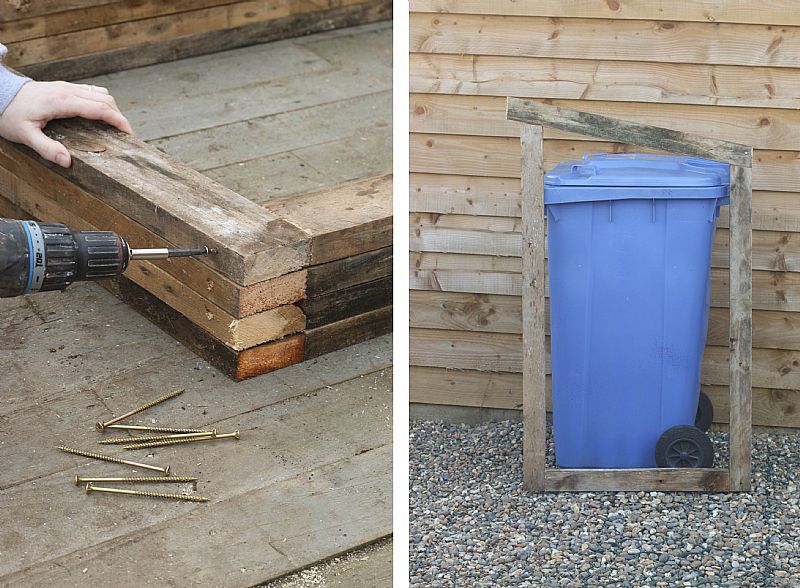
Measure and cut the beams to fit the size of your largest bin. Add a little extra height at the front to allow you to still lift the lid when the bin is stored away, and add extra width to the top piece to create an overhang at the front. The measurements will vary depending on the size of your bins but the approximate measurements we used to fit our small wheelie bins were:
- 120cm front piece with a 15-degree angle
- 105cm back piece with a 15-degree angle
- 80cm across the top
- 60cm inside the bottom
Cut a 15-degree angle at the top of the front and back pieces to create the angled top edge. Screw the pieces together and repeat to create four frames like the photo below.
STEP 3
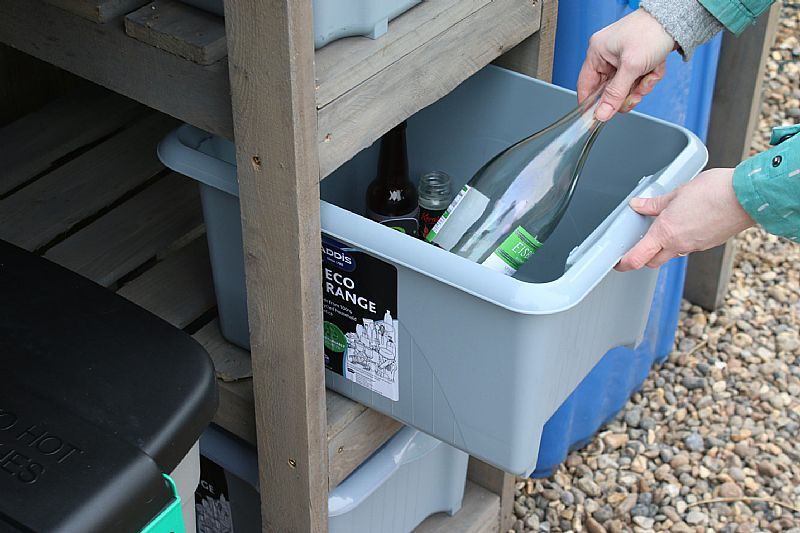
Build three shelves for the storage tubs using the pallet beams for the sides and the pallet planks for the slatted tops. Measure your storage or recycling tubs to ensure that you are building the shelves wide enough. The 30L tubs we used are approximately 36cm wide and are from the Addis Eco Range, which is made from 100% recycled household plastics. Allow a few extra centimetres each side to make it easy to pull the tubs in and out of the shelves.
STEP 4
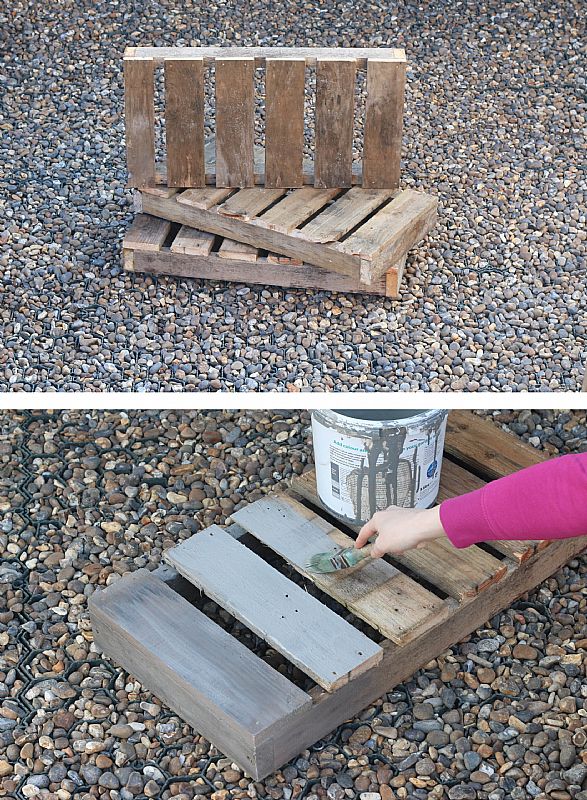
Give the four frames, the three shelves, the long pallet beams and the planks of pallet wood a coat of paint. You can use any kind of garden treatment or outdoor paint that you already have. If you use the same colour as your shed or fence, it’ll tie the pallet store into the rest of the garden, which helps to disguise it further. Allow to dry thoroughly.
STEP 5
Use the painted planks of pallet wood to clad two of the frames to form the outer sides of the bin store. Then screw the shelves to the other two frames to create the central section. To construct the store, screw a long beam across the top of the front of all four frames, allowing enough space in each end section for the size of your bins. Screw another two beams across the back of the frame at the top and the bottom. Add extra stability by using more pallet planks to clad across the back of the store.
STEP 6
Use more planks of painted pallet wood to clad the top of the bin store to create a roof. At this stage you could add a layer of shed felt to the roof if you wanted to make it water resistant. Position the bin store on a flat surface to make it easy to wheel the bins in and out of the store. For extra safety, please use some metal brackets to attach the frame to your fence, shed, garage or decking to ensure that it doesn’t fall over.
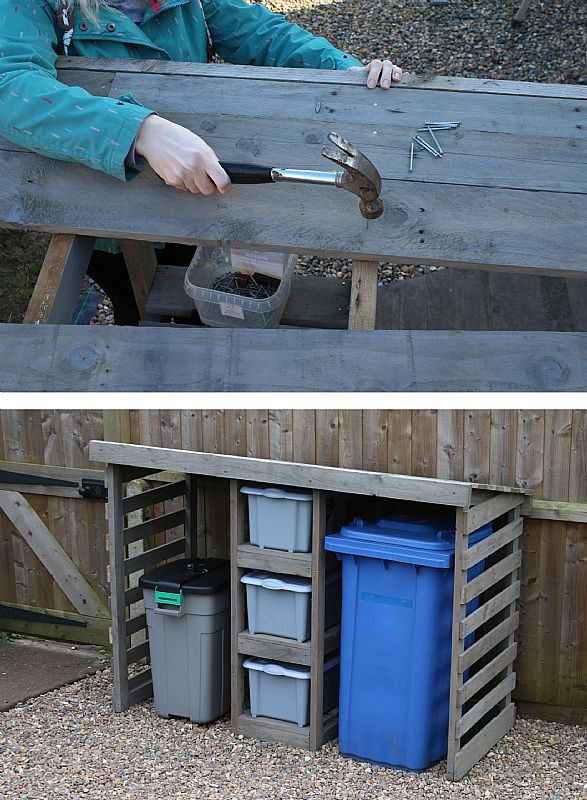
Now all you need to do is add the storage tubs and lids to the central shelves and wheel your bins into place. It could be a store for your existing wheelie bins or you could use an outdoor bin like the 90L rectangular dustbin we have used for our garden waste.
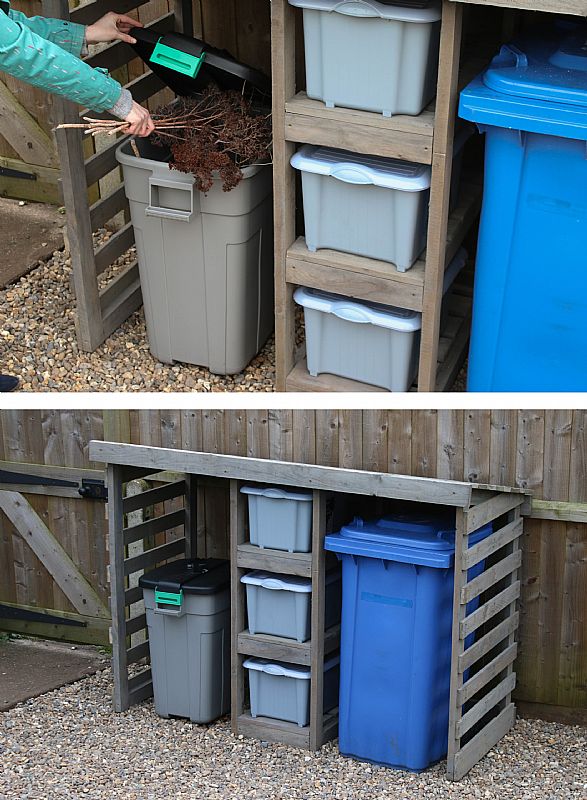
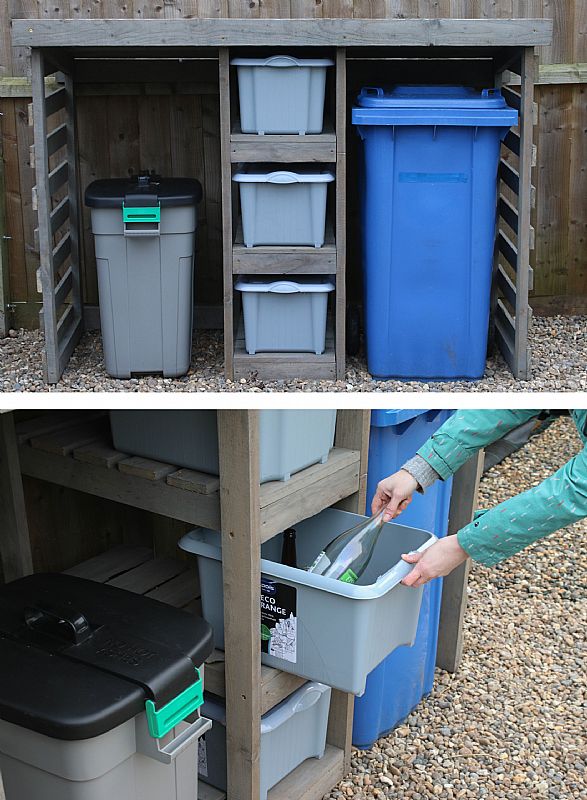
Keeping the lids on the storage tubs will ensure that the items you’re taking to your local household waste recycling centre stay dry until you get a chance to recycle them. Plus, you can easily load the tub containing glass recycling into the boot of your car when you’re going out and take it to the bottle bank.
Written by Cassie Fairy
For more upcycling projects and thrifty DIYs check out Cassie’s blog My Thrifty Life.
As with all our projects, please take care while using tools, materials and equipment. All projects on the Addis blog must be completed at your own risk. We do not take responsibility for any harm or injury that may occur. Be safe
